How to Safely Clean Your Pet’s Eyes and Ears
Maintaining your pet’s eye and ear health is essential for their overall well-being. Regular cleaning can help prevent infections, reduce discomfort, and keep your furry friend happy. This guide provides detailed, step-by-step instructions for safely cleaning your pet's eyes and ears.

1. The Importance of Eye and Ear Care
Eye Care
Regular eye care is crucial for pets, particularly for breeds prone to eye issues, such as Bulldogs, Poodles, or Shih Tzus. Keeping your pet’s eyes clean is important because:
•Prevents Infections: Dust, debris, and discharge can lead to infections if not cleaned regularly. For instance, pets with excessive tear production may develop crusty residue, leading to irritation and potential infections.
•Reduces Tear Staining: Some pets are prone to tear staining, which can be unsightly and uncomfortable. Breeds like Maltese often suffer from this issue, making regular cleaning essential.
•Early Detection of Issues: Regular cleaning allows you to notice any changes in your pet’s eyes, such as cloudiness or unusual colors, which is crucial for early diagnosis of potential health problems.
Ear Care
Ear care is equally important. Dirty ears can lead to infections, pain, and even hearing loss. Here’s why ear cleaning matters:
•Prevents Ear Infections: Moisture and debris can create an environment for bacteria and yeast to thrive. Dogs that swim frequently, like Labradors, may be particularly prone to ear infections due to trapped moisture.
•Reduces Odor: Regular cleaning helps eliminate unpleasant odors associated with dirty ears, which can be both uncomfortable for your pet and concerning for pet owners.
•Enhances Comfort: Clean ears reduce irritation and discomfort for your pet. Pets with itchy ears may scratch excessively, leading to further complications.
2. Gathering Your Supplies
Before starting, gather the necessary supplies for both eye and ear cleaning:
For Eye Cleaning
•Eye Cleaning Solution: Use a pet-safe eye wash or saline solution. Products specifically formulated for pets are the safest choice.
•Cotton Balls or Pads: Ideal for applying the cleaning solution.
•Soft Cloth: For wiping the area around the eyes.

For Ear Cleaning
•Ear Cleaning Solution: Choose a vet-recommended solution for pets, such as those containing aloe or witch hazel, which can soothe irritation.
•Cotton Balls or Pads: For applying the ear cleaner.
•Towels: To catch any mess and keep your area clean.
3. Preparing Your Pet
Preparing your pet for cleaning is essential for a stress-free experience:
•Choose a Calm Environment: Find a quiet place where your pet feels comfortable. Avoid noisy areas to reduce anxiety.
•Get Your Pet Comfortable: Allow your pet to sniff the cleaning supplies. Spend a few moments petting them to create a calm atmosphere. Familiarizing them with the supplies can help ease their nerves.
•Positioning: For small pets, hold them in your lap. For larger pets, have them sit or lie down beside you.
4. Step-by-Step Instructions for Eye Cleaning
Step 1: Assess the Eyes
Examine your pet's eyes for any redness, swelling, or unusual discharge. Consult your veterinarian if you notice any significant issues, such as a change in the color of the eye or excessive tearing.
Step 2: Moisten the Cotton Ball
Take a clean cotton ball and moisten it with the pet-safe eye cleaning solution.
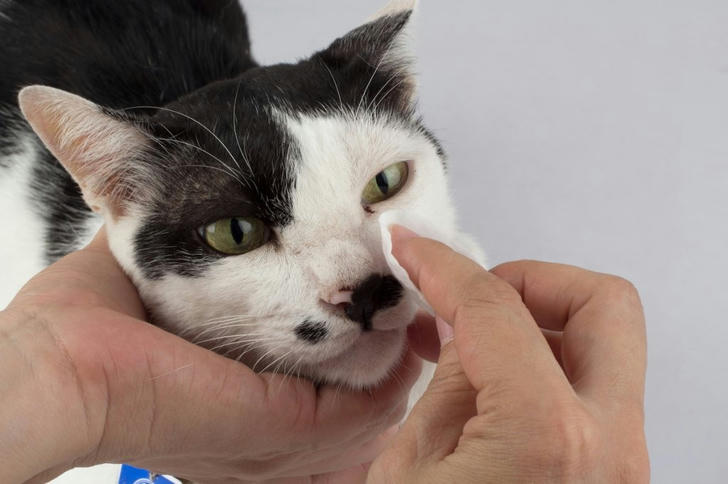
Step 3: Wipe the Eye Area
•Approach Gently: Hold the cotton ball close to your pet’s eye but avoid sudden movements.
•Start from the Corner: Begin at the inner corner of the eye and gently wipe outward. Use a single stroke to avoid spreading debris.
•Repeat as Necessary: If there’s significant discharge, use a fresh cotton ball and repeat the process.
Step 4: Clean the Surrounding Area
Use a soft cloth to wipe the area around the eyes, removing any residue. This helps maintain cleanliness and comfort.
Step 5: Dispose of the Cotton Ball
Properly dispose of the used cotton ball or pad.

Step 6: Reward Your Pet
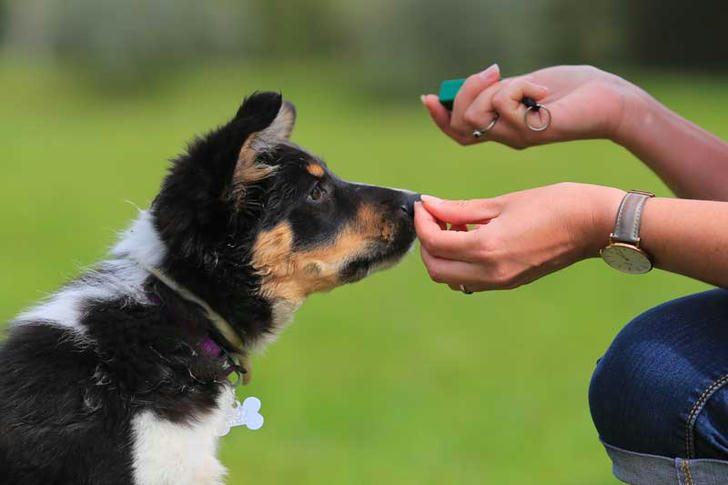
After cleaning, reward your pet with a treat and some praise. Positive reinforcement encourages them to cooperate during future cleanings.
5. Step-by-Step Instructions for Ear Cleaning
Step 1: Assess the Ears
Check your pet’s ears for excessive wax buildup, redness, or odor. If you notice any concerning symptoms, such as swelling or discharge, consult your veterinarian.
Step 2: Apply the Ear Cleaner
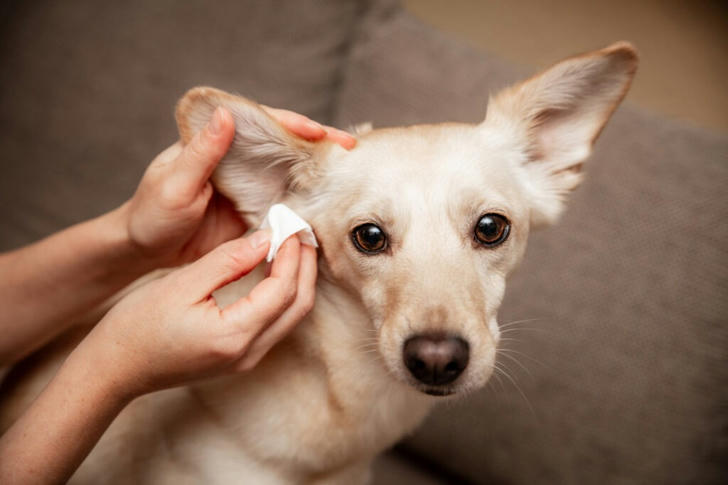
•Apply the Solution: Hold your pet's ear flap upright and squeeze the ear cleaning solution into the ear canal. Follow the product's instructions for the appropriate amount.
•Massage the Base: Gently massage the base of the ear for 20-30 seconds to help the cleaner break down debris.
Step 3: Let Your Pet Shake
Allow your pet to shake its head, as this helps remove excess cleaner and debris. Have a towel ready to catch any mess.
Step 4: Wipe the Ears
Use a cotton ball or pad to wipe the inside of the ear flap and the visible part of the ear canal. Avoid inserting anything deep into the ear canal to prevent injury.
Step 5: Dispose of the Cotton Ball
Dispose of the used cotton ball or pad properly.
Step 6: Reward Your Pet

As with eye cleaning, reward your pet with a treat and praise for their cooperation.
6. Tips for Successful Eye and Ear Cleaning
•Regular Schedule: Clean your pet’s eyes and ears regularly. Depending on their needs, this may be weekly or monthly.
•Monitor for Changes: Always keep an eye on changes in your pet’s eyes or ears. If you notice issues, consult your veterinarian promptly.
•Stay Calm: If your pet becomes anxious, take a break. Keeping the experience stress-free is important.
7. When to Seek Veterinary Help
•Persistent Discharge: Consistent discharge that doesn't improve may indicate an infection.
•Redness or Swelling: Any visible inflammation should be checked by a vet.
•Changes in Behavior: If your pet seems to be in pain or shows signs of discomfort, consult a veterinarian.
8. Conclusion
Regular cleaning of your pet’s eyes and ears is vital for their health and comfort. By following these detailed instructions and maintaining a regular cleaning schedule, you can help prevent infections and ensure your pet remains happy and healthy. Always approach the cleaning process with patience and gentleness, and consult your veterinarian if any issues arise. A little care goes a long way in keeping your furry friend thriving!
